Concrete is the backbone of our structures—and its strength depends more on how it’s handled on-site than on the design itself. Even well-designed concrete can fail if workers rush the process, add water on site, skip compaction, or finish while bleed water is still present.

Good concrete work is simply good habits practiced every day: proper preparation, correct timing, steady workmanship, and basic quality checks.
1. Before You Pour: Get Setup Right
A strong concrete job starts before the first wheelbarrow arrives.
Checklist:

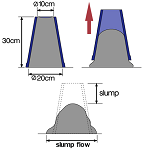
Check the mix on the delivery ticket—W/C ratio and slump must match the specification.
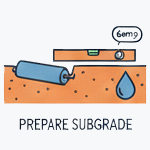
Prepare the subgrade: level, compacted, damp—not muddy or soft.
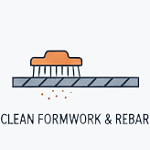
Clean formwork and rebar: remove dirt, mortar, rust flakes, or debris.

Have tools ready: vibrators (with backup), screeds, floats, trowels.

Plan for timing: concrete must be placed continuously without delays.
2. During Placement: Avoid the Big Mistakes
Most concrete defects start here—usually from water addition, segregation, or poor compaction.
Do:
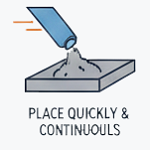
Place concrete quickly and continuously.
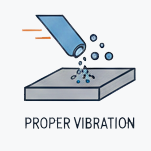
Use proper vibration to eliminate air pockets and honeycombs.
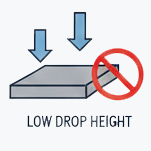
Keep drop height low (under 1.5–2 m) to avoid segregation.
Don’t:
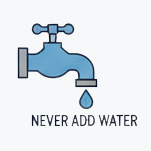
Never add water on-site.
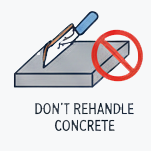
Don’t re-handle concrete or push it around excessively.
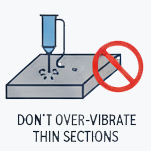
Don’t over-vibrate thin sections.
3. Finishing: Timing Is Everything
Good finishing = waiting for the right moment.
Golden rules:
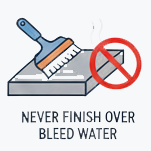
Never finish over bleed water.
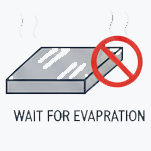
Start work only after the surface sheen has evaporated.

Perform screeding → bullfloating → edging/jointing → floating.
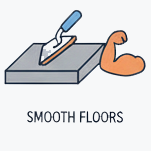
For smooth floors, apply steel troweling after the slab gains stiffness.

For outdoor work, use broom finishes for slip resistance.
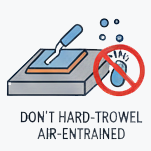
Don’t hard-trowel air-entrained concrete.
4. After Finishing: Curing Makes or Breaks the Job
Curing is the most ignored step—and the most important for strength and durability.
Best practices:
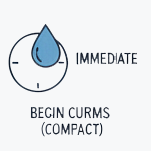
Begin curing immediately after finishing.
Keep surfaces moist for at least 7 days (for OPC concrete).

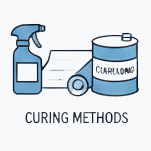
Use water curing, wet burlap, plastic sheets, or curing compounds.
Protect new surfaces from sun, wind, rain, and traffic.

5. Common Problems & How to Fix Them
The Problem: Its solution
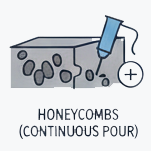
Honeycombs: Improve compaction and use correct workability.
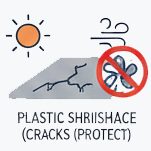
Plastic shrinkage cracks: Protect from wind/sun; fog or shade early.
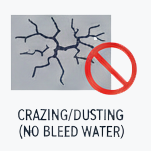
Crazing/dusting: Don’t finish over bleed water; ensure proper curing.
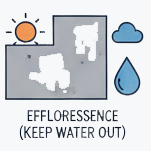
Efflorescence: Keep water out of forms; allow forms to be stripped in dry conditions.
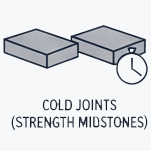
Cold joints: Maintain continuous pour; if unavoidable, apply a rich mortar layer before placing new concrete.
6. Quick Reference for Workers
Simple rules that save projects:
Water–Cement Ratio
- The #1 factor controlling strength and durability.
- Lower W/C → stronger, denser, longer-lasting concrete.
- Never adjust W/C on-site by adding water.
Workability (Slump)
- Match the slump to the job type (beams, slabs, footings).
- High slump ≠ high quality—often means excess water.
Essential Quality Tests
- Slump test
- Temperature measurement
- Density test (fresh concrete)
- Compressive strength testing at 7, 14, 28 days

Early-Age Strength Milestones
- 7 days: ~ 60% to 70% of design strength
- 14 days: ~ 85% to 90% of design strength
- 28 days: full rated strength

In Summary
Concrete is only as good as the care taken on-site. With correct preparation, controlled placement, proper timing for finishing, and disciplined curing, construction workers can consistently deliver strong, durable, and long-lasting concrete structures.
WHAT DO YOU THINK OF THE ABOVE ARTICLE?
Share your ideas with our community via the comment box below.
OR
Leave a Reply