Introduction: One Skipped Test Can Cost You Years
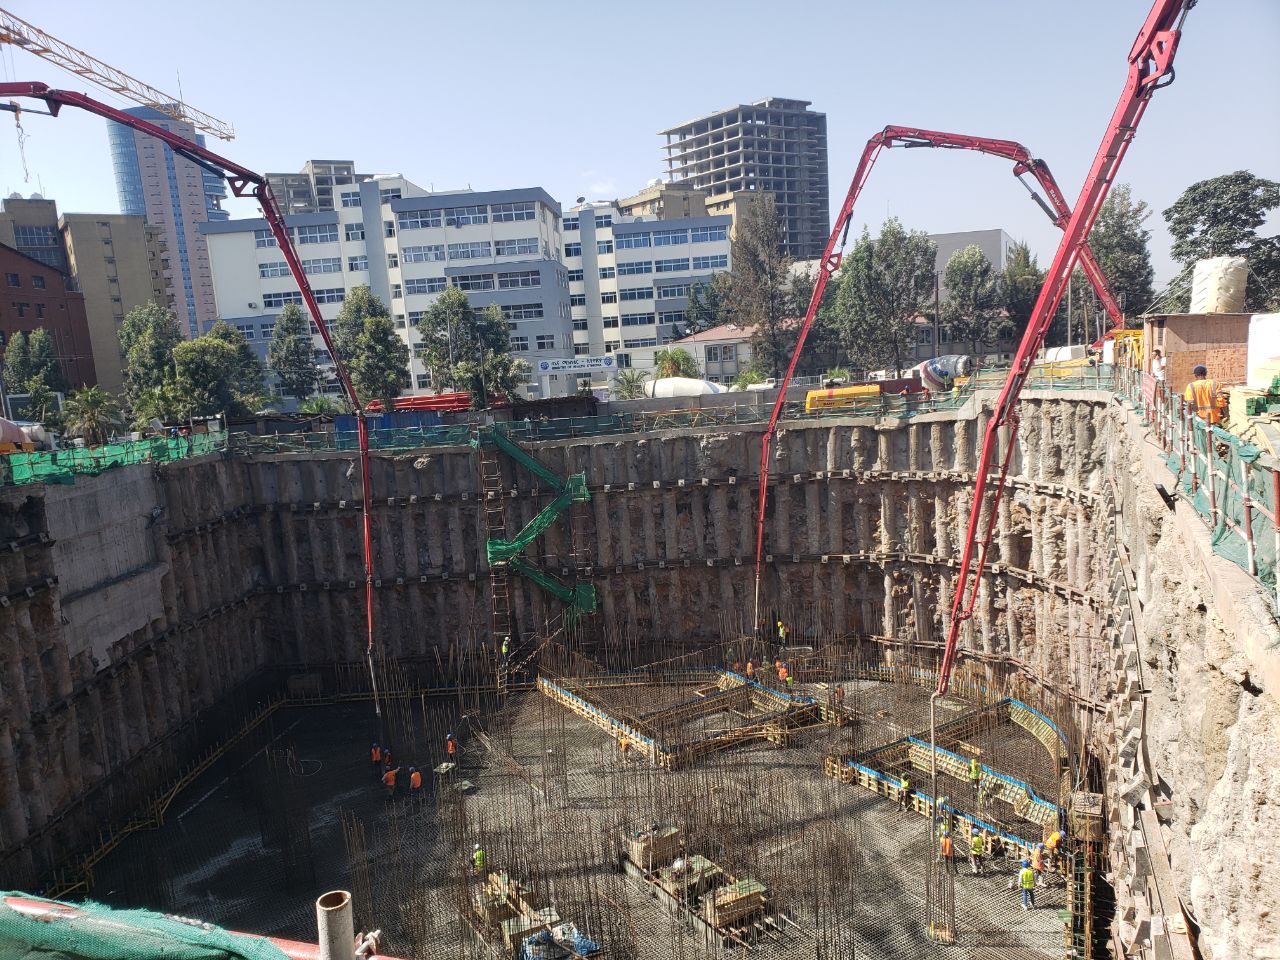
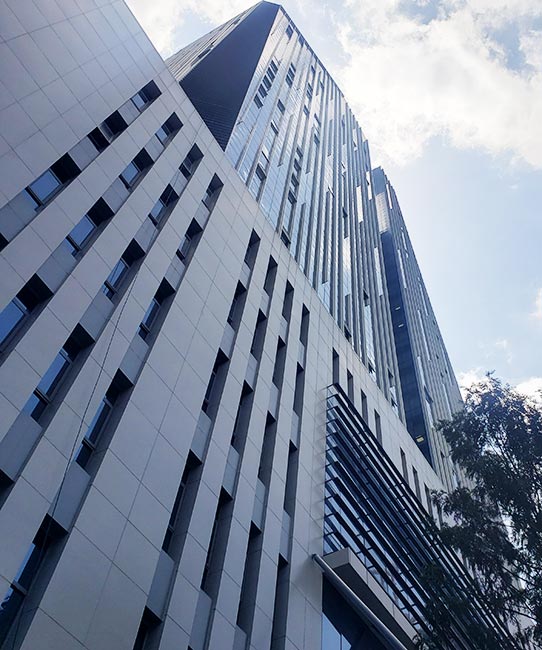
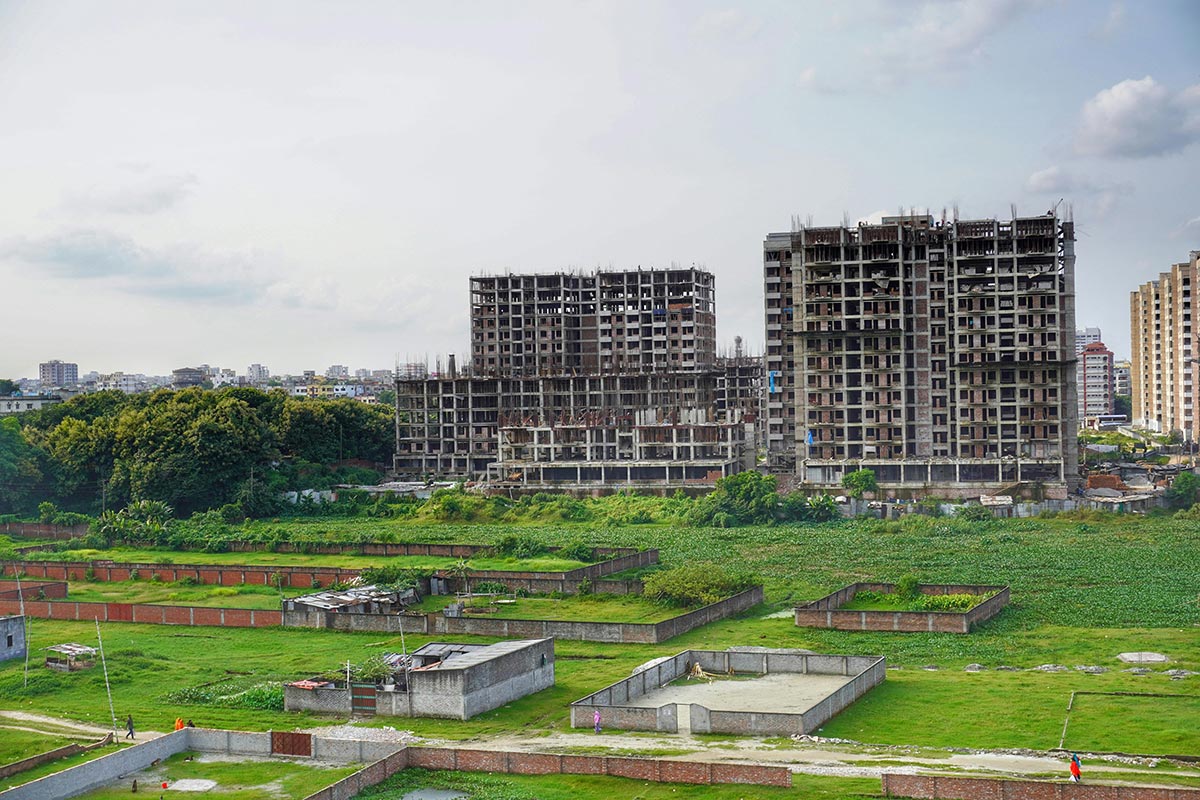
In the heart of Addis Ababa’s skyline, a G+10 building rising from the dust is more than concrete and reinforcement steel. It represents years of saving, a developer’s vision, and often a family’s lifetime investment.
But in today’s Ethiopian construction market — where cement and reinforcement prices fluctuate weekly and project timelines are tight — many are tempted by a dangerous shortcut: skipping quality tests to save money and time.
Build smarter. Build safer. Build once.
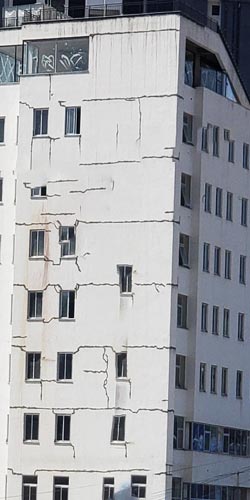
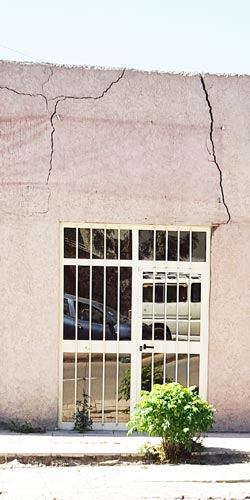
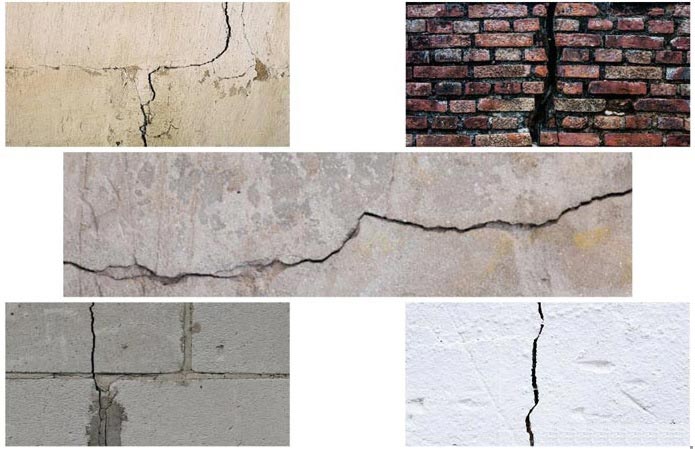
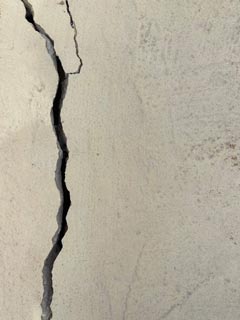
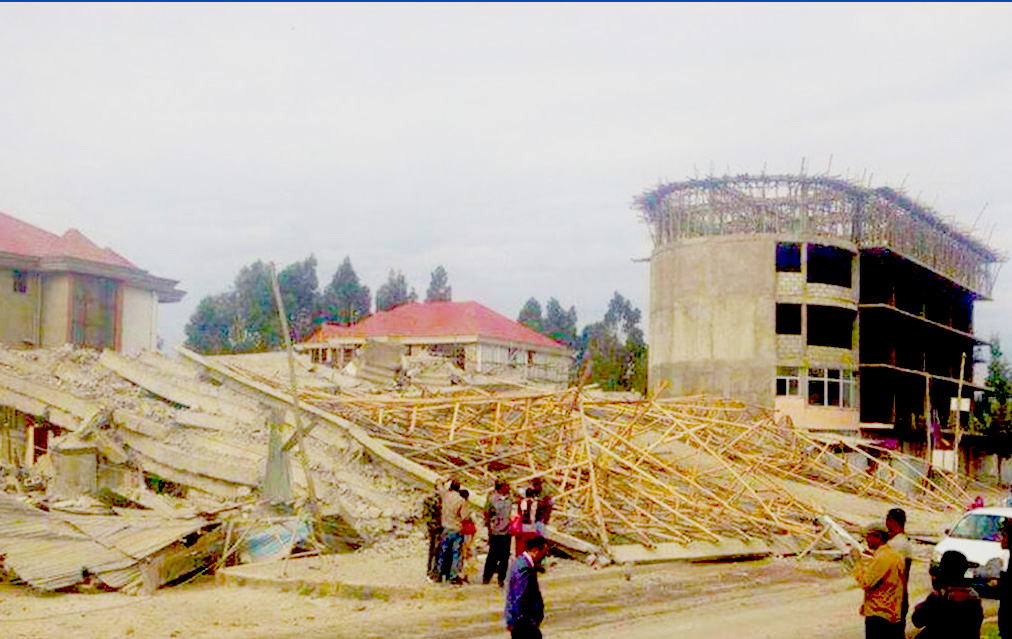
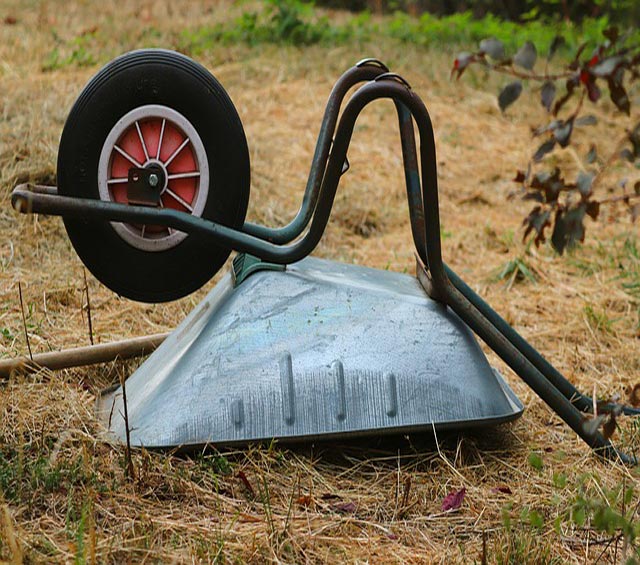
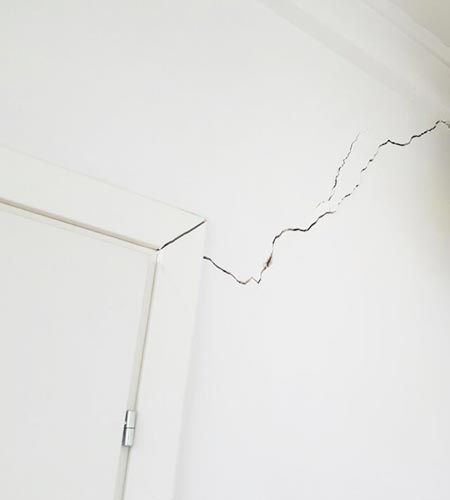
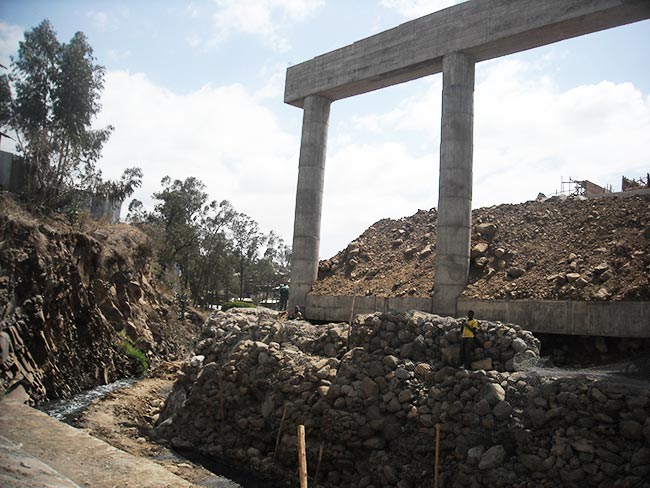
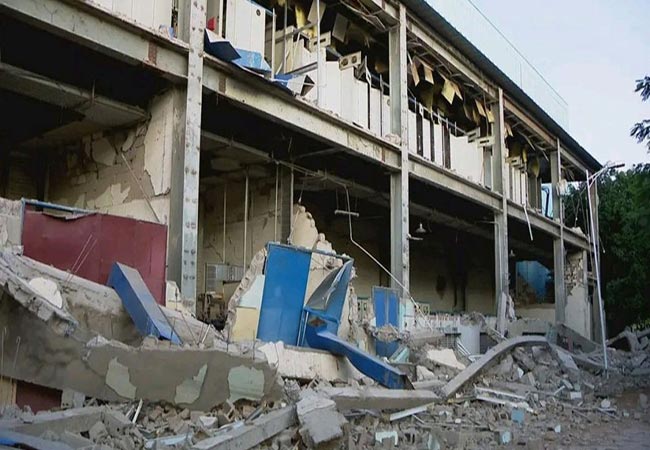
Construction without testing leads to familiar problems — cracked walls in Ethiopia, demolishing big column in Sengatera, improper construction in Akaki, leakage of Addis Ababa swimming pool, and sometimes structural failures that reach the headlines.
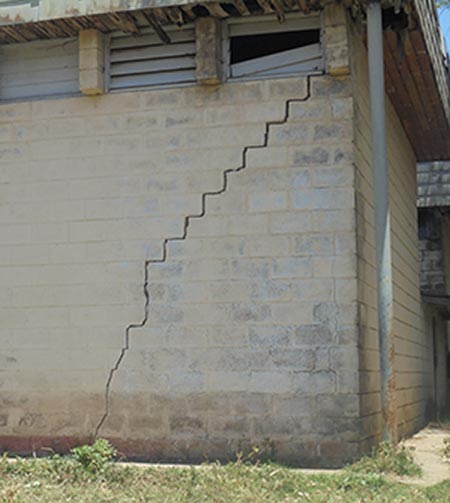
Warehouse in Ethiopia
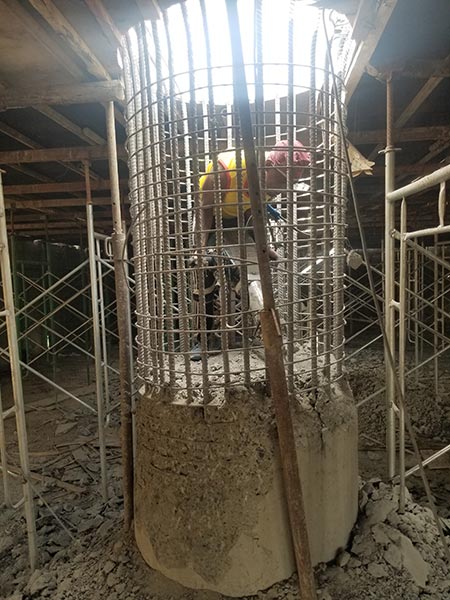
Sengatera, Addis Ababa
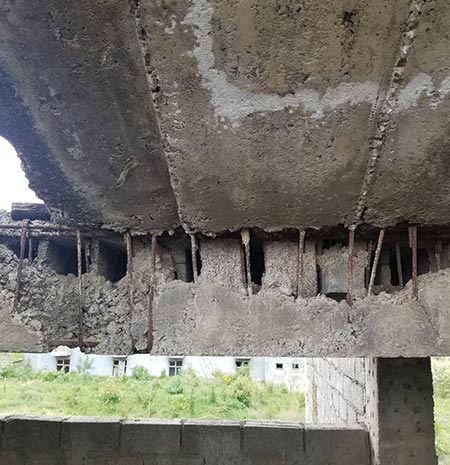
Akaki, Addis Ababa
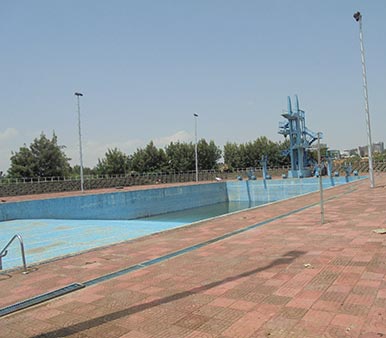
Addis Ababa Swimming Pool
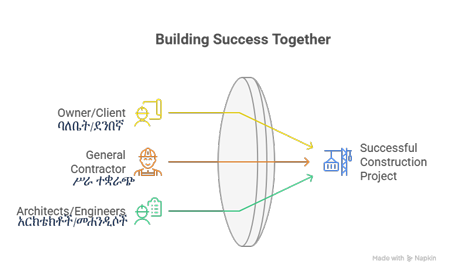
Whether you are:
- A project owner investing your life savings
- A project manager handling a multi-million Birr budget
- A fresh graduate standing on your first site
You cannot afford to ignore the silent guardians of your building: quality tests.
And it’s not only good practice — Ethiopian Building Proclamation No. 1356/2024 makes quality control a legal requirement.
Below are the essential tests that separate successful projects from costly failures — explained from real site experience.
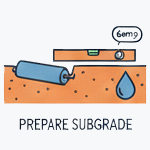
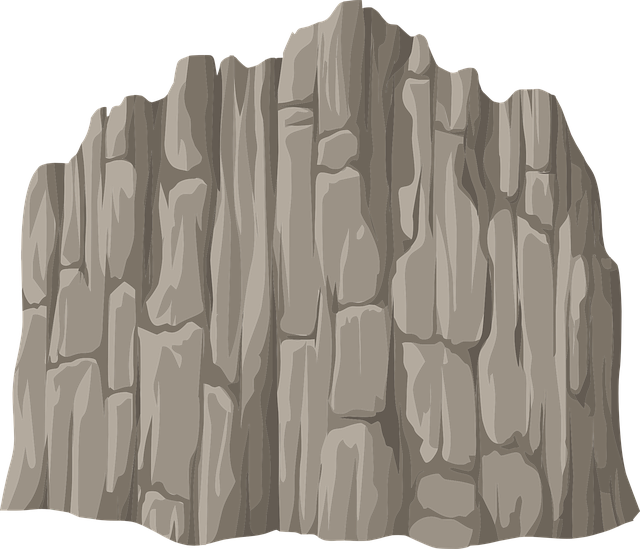
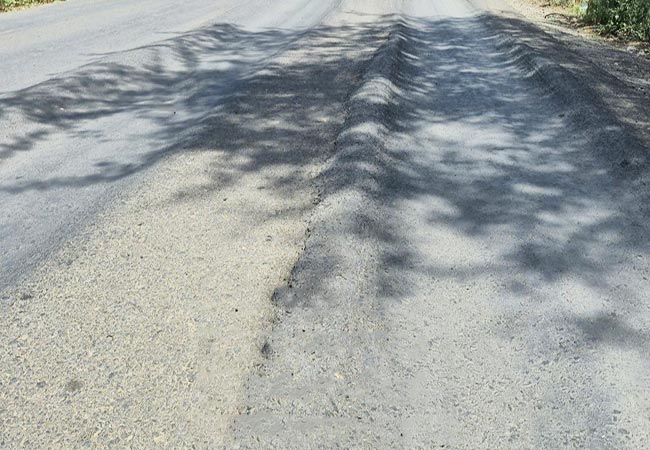
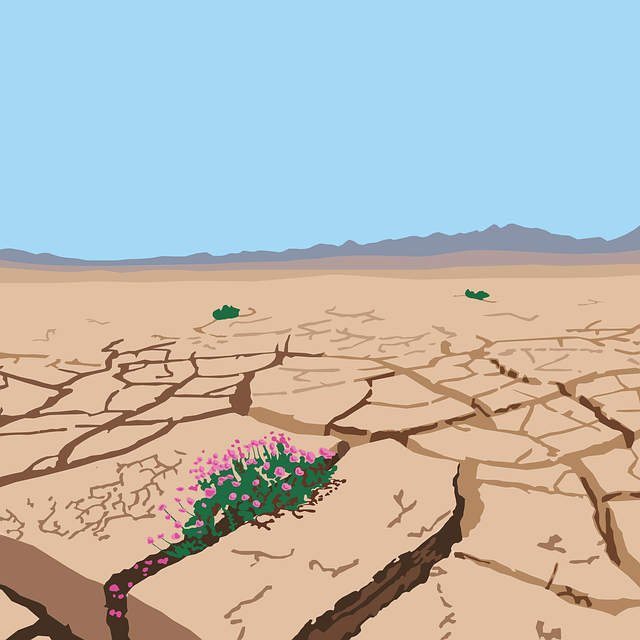
1. Pre-Construction Soil Investigation — Your Building’s First Insurance Policy
Why it matters
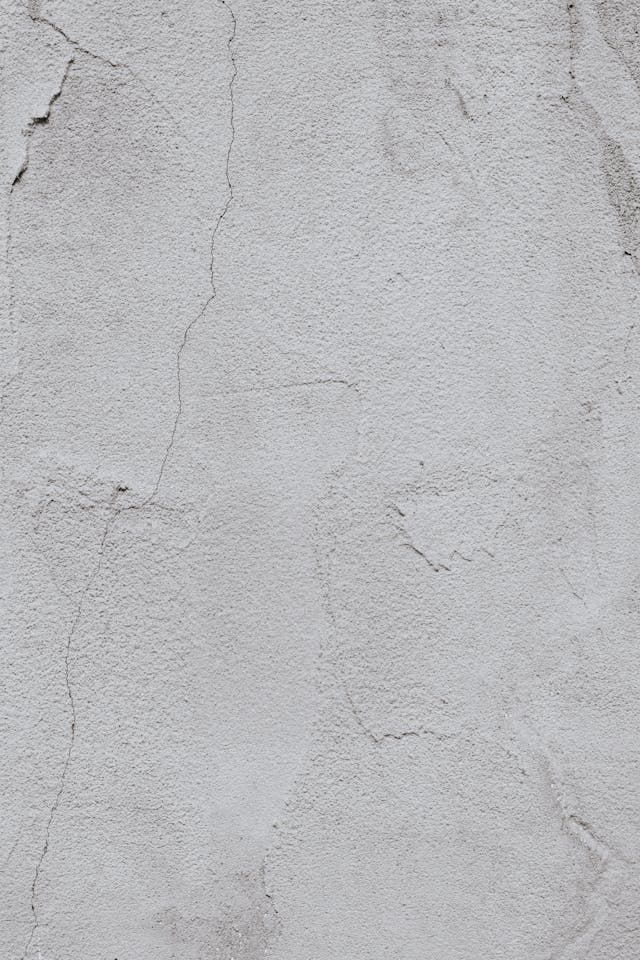
Every structural design starts with soil/ground assumptions. If the soil/ground data is wrong, the entire foundation design becomes guesswork. The result is differential settlement, cracks, and in severe cases, structural instability years later.
Proper investigation steps to follow
- Desktop study of site history and surroundings
- Field investigation (trial pits or boreholes)
- On-site field tests
- Laboratory soil testing
- Geotechnical report by a qualified engineer
Common mistake
- Using soil reports from nearby projects
- Relying on contractor or friend advice instead of testing your own site
Expert advice
Even for small residential buildings, soil testing is worth every Birr. Foundation repair later costs many times more than testing today.
Real example: In the Ayat area of Addis Ababa, a building foundation settled before the ground floor was completed due to skipped soil investigation.
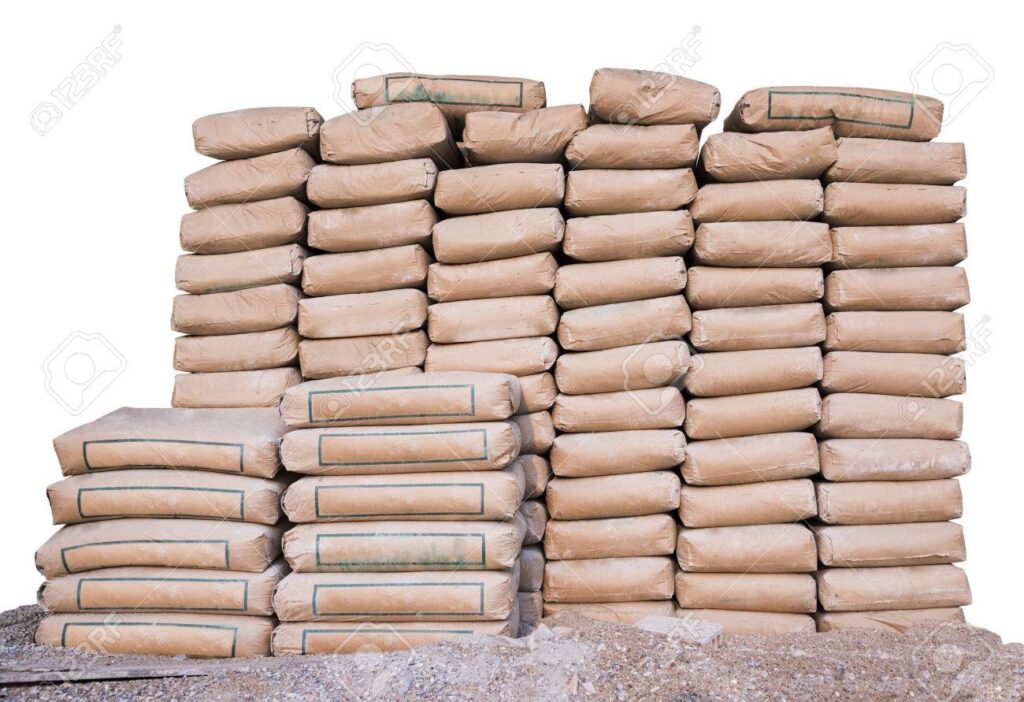
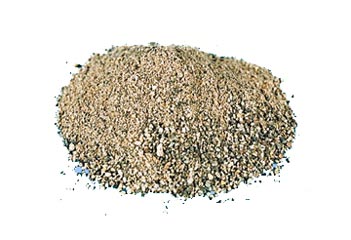
2. Cement, Sand, Aggregates, and Water — Concrete Is Only as Good as Its Ingredients
Why it matters
Concrete is a simple mix. If one material is poor, the entire structure suffers. Dirty sand, weak aggregates, or polluted water silently reduce strength.
Essential quality tests
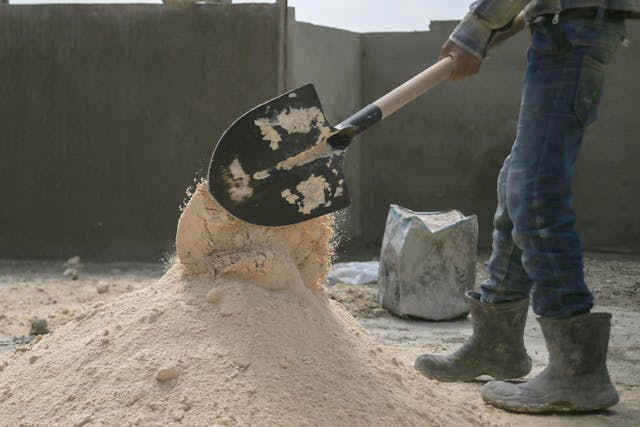
- Sand grading and cleanliness tests
- Aggregate strength tests
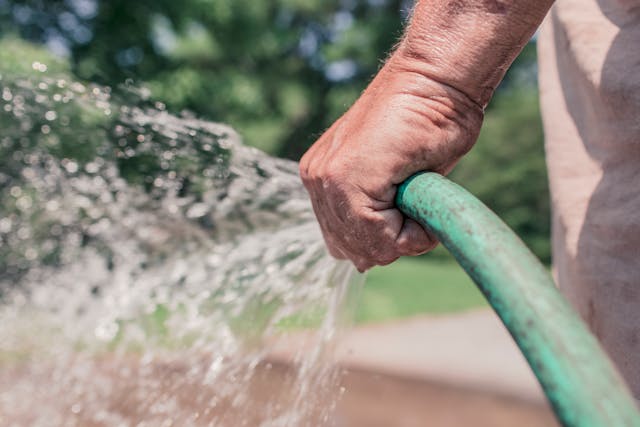
- Water quality test
Common mistake
- Stockpiling sand on muddy ground
- Using polluted water
- Storing aggregates in cone piles causing segregation
Expert advice
- Always use clean water
- Store aggregates on flat, clean surfaces
- Keep sand free from soil contamination
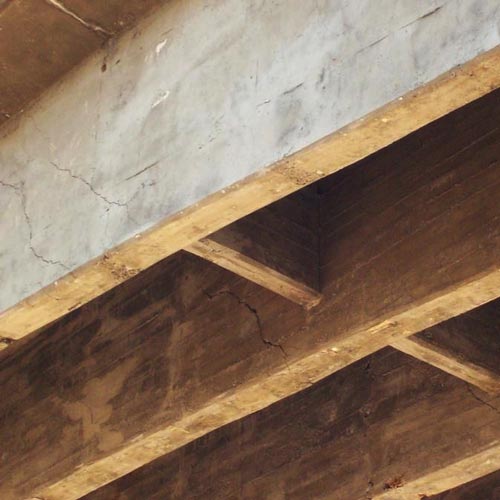
Real example: In Akaki, beam concrete showed surface deterioration due to poor aggregate quality.
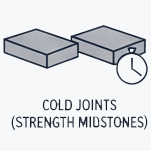
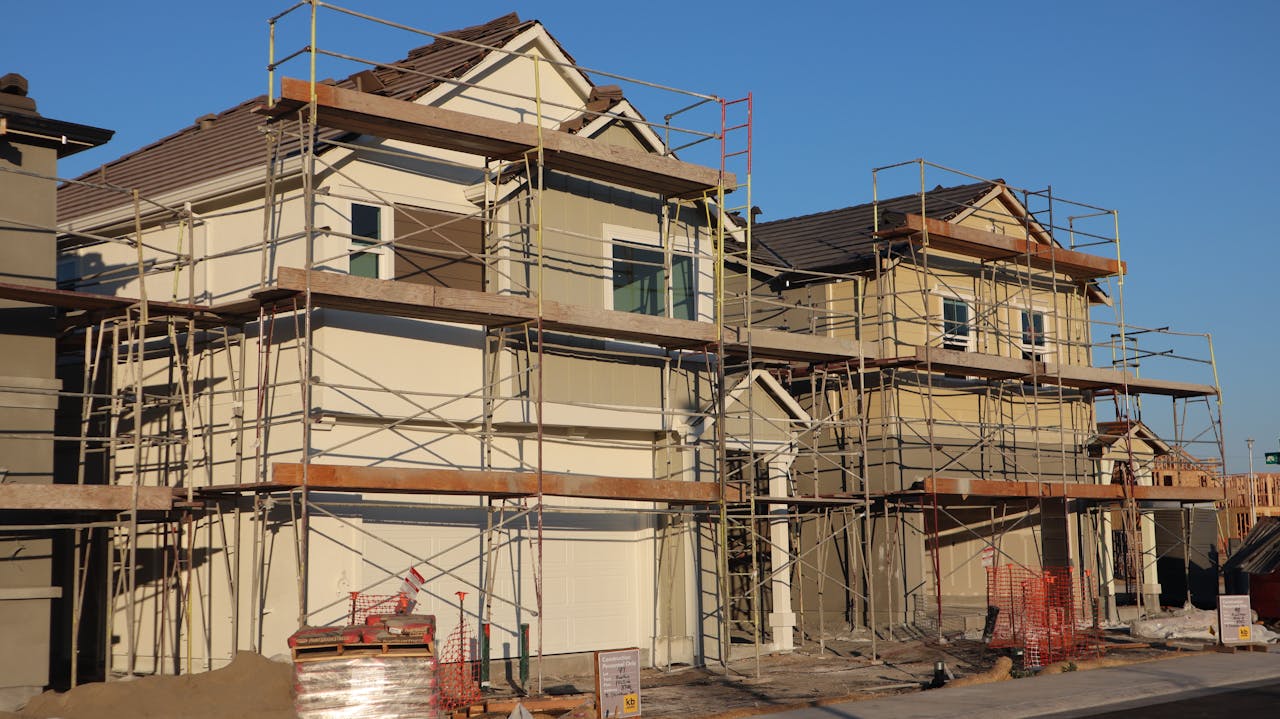
3. Formwork and Falsework Inspection — The Shape and Safety of Your Structure
Why it matters
Formwork gives concrete its shape. Falsework (scaffolding and temporary supports) carries the full weight of fresh concrete until it gains strength. If either is weak, misaligned, or prematurely removed, the result can be sagging slabs, crooked columns, surface defects — or in extreme cases, sudden collapse during pouring.
Always check
- Formwork alignment, level, and plumb
- Tight joints to prevent grout leakage
- Adequate bracing and support spacing
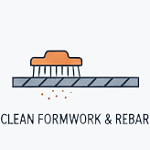
- Clean internal surfaces before pouring
- Release oil applied properly
- Falsework load capacity and stability
- Safe working platforms and access
Common mistake
- Reusing warped or broken plywood
- Inadequate bracing of slab formwork
- Removing props before concrete reaches required strength
- Supporting slabs on weak ground without base plates
Expert advice
- Inspect and approve formwork before every pour
- Never remove falsework without engineer approval
- Keep a formwork inspection checklist on site
- Train carpenters and foremen on correct prop spacing
Real example: In Jimma, Ethiopia, a slab sagged visibly after formwork removal because props were removed before the concrete reached sufficient strength. Costly rework and delays followed.
4. Reinforcement Inspection — Steel Must Be Right Before Pour
Why it matters
Once concrete is poured, reinforcement mistakes are permanent. Poor-quality steel or wrong detailing can cause sudden failure under heavy load or seismic action.
Always check
- Tensile and bend tests for rebar
- Bar diameter and spacing
- Lap lengths and anchorage
- Proper concrete cover
- Clean, rust-free bars
Common mistake
- Using uncertified steel
- Skipping inspection to save time
Expert advice
A 30-minute inspection before pouring prevents decades of structural risk
Real example: In Betel, reinforcement bars rusted due to poor storage and lack of inspection.
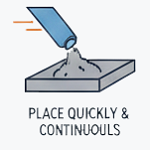
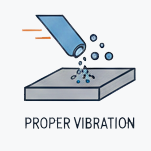
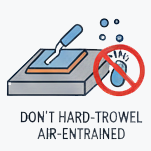
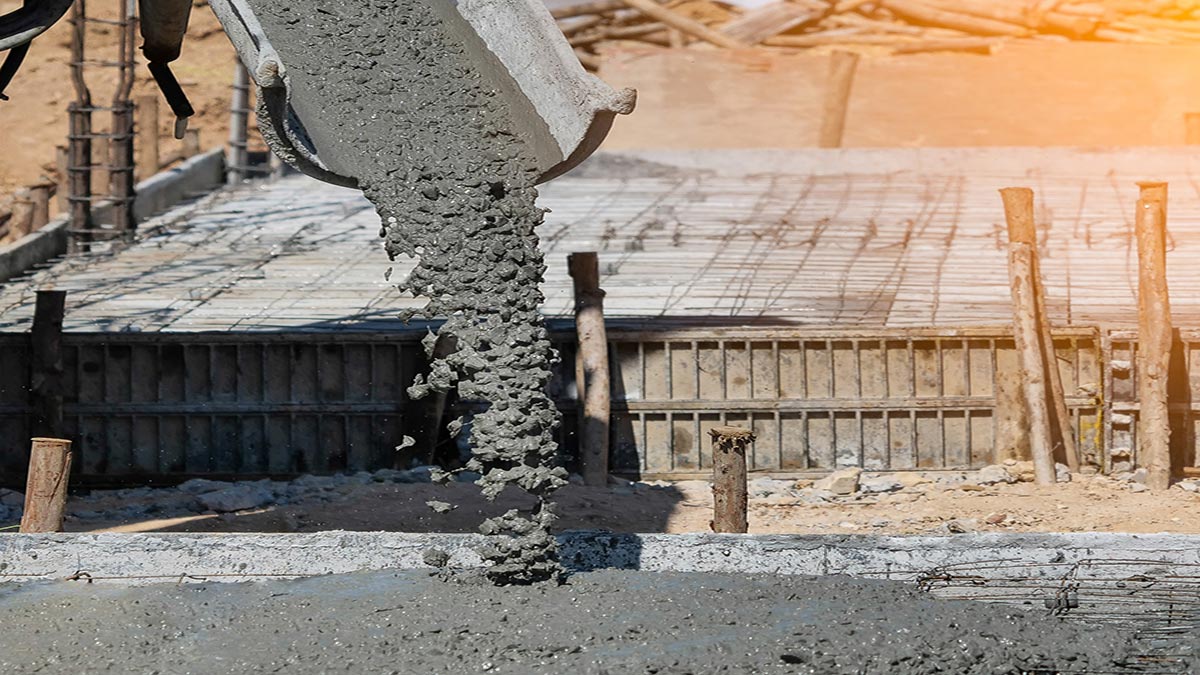
5. Concrete Slump and Cube Strength Tests — Trust, But Verify
Why it matters
Concrete is the backbone of your structure. Design strength on paper means nothing if site mixing, water control, or curing is poor.
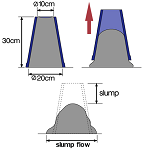
Slump test
- Measures workability and water–cement ratio
- High slump = too much water = weak concrete
- Low slump = poor compaction and honeycombing
Compressive strength test
- Cast cube samples during major pours
- Test at 7 and 28 days
- Confirm design strength
Common mistake
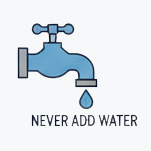
- Adding excess water for easy pouring
- Casting cubes but never testing them
- Ignoring failed test results
Expert advice
- Follow approved mix designs
- Keep a concrete test register
- Train foremen in slump testing and cube casting
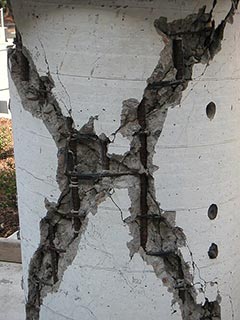
Real example: In Sengatera, Addis Ababa a large column was demolished after cube tests failed.
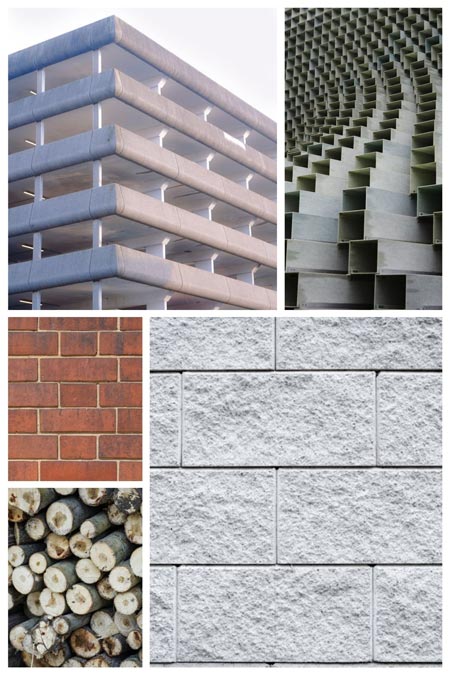
6. Bricks and Blocks — Your Building’s Skin
Why it matters
Weak blocks lead to cracked walls, falling plaster, and constant repairs.
Essential tests
- Compressive strength test
- Water absorption test
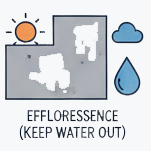
- Efflorescence test
Common mistake
Using low-quality blocks without testing.
Expert advice
Test random samples before bulk purchase. Testing is cheap. Rebuilding walls is expensive.
Real example: In Jemo, Addis Ababa wall cracks appeared within months due to substandard hollow blocks.
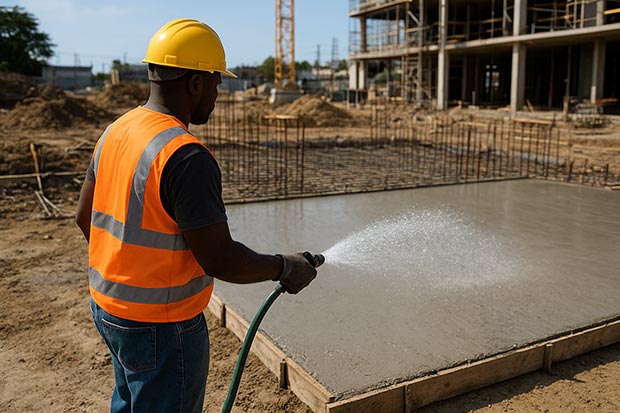
7. Waterproofing Tests — Because Leaks Are Forever
Why it matters
Fixing leaks after finishing is up to ten times more expensive than fixing them during grey structure works.
Must-test areas
- Roof slab ponding test
- Bathroom and balcony flood test
- Basement leakage test
Common mistake
Covering waterproofing layers without testing.
Expert advice
Never allow tiling or plastering before a signed water-retention test.
Real example: In Bole, Addis Ababa an entire basement perimeter was excavated after post-construction leakage.
8. Electrical Insulation and Earthing Tests — Safety Comes First
Why it matters
Poor wiring causes shocks, fires, and equipment damage.
Essential tests
- Insulation resistance test
- Earth resistance test
Common mistake
Assuming “the electrician finished” means the system is safe.
Expert advice
No power connection without certified electrical test reports.
Real example: In many Ethiopia condominium buildings, walls are later torn or demolished to locate wiring faults — or external surface wiring is added as a costly fix.
9. Plumbing Pressure Test — Prevent Hidden Failures
Why it matters
Leaks inside walls mean demolition, tile removal, and costly repairs.
Test method
Hydrostatic pressure testing before plastering or tiling.
Common mistake
Skipping the test to save time.
Expert advice
No wall should be closed without a signed pressure-test record.
Real example: In many Ethiopian buildings, leaks are discovered only after occupation, leading to property loss and demolishing.
10. Final Structural Audit — The Last Line of Defense
Why it matters
Final handing over and documentation are important conclusion steps of any project. During maintenance or renovation, these are vital documents to be referred.
Before handover, a qualified engineer must verify:
- Construction matches approved drawings
- No unauthorized modifications
- Structural load paths are intact
- As-built drawings are prepared
Common mistake
Assuming construction completion guarantees long-term safety and maintainability.
Expert advice
Never accept “it looks fine.” Demand documentation.
Real example: In many Ethiopian projects, it is difficult to do maintenance or renovation without demolishing.
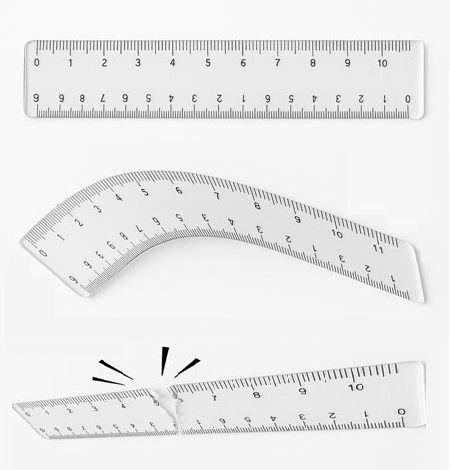
The Cost of Quality vs. The Cost of Failure
Construction follows the 1 : 10 : 100 Rule:
- Spend 1 Birr on testing today
- Fixing a defect during construction costs 10 Birr
- Fixing it after occupancy costs 100 Birr — plus legal and reputation damage
For a typical G+3 building in Addis Ababa, essential quality tests usually cost less than 100,000 Birr, often under 2% of total project cost.
Skipping tests is not saving money.
It is postponing disaster.
Final Word: Build Once. Build Right.
Quality testing is not a luxury for big projects.
It is a necessity for every building — from family homes to commercial towers.
The best project owners and managers share one habit:
They test before they trust.
Join Our Construction Community
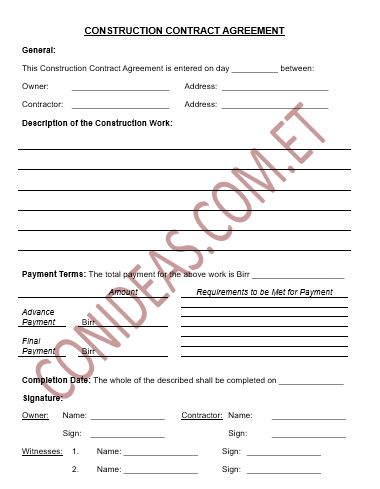
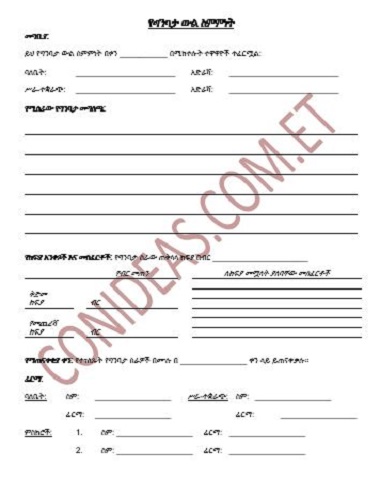
If you want ready-to-use:
- Construction Quality Inspection Checklists
- Concrete Cube Test Record Sheets
- Waterproofing Test Logs
- Site Inspection Templates
Visit our Construction Community & Resources Library — built for Ethiopian project owners, managers, and engineers.